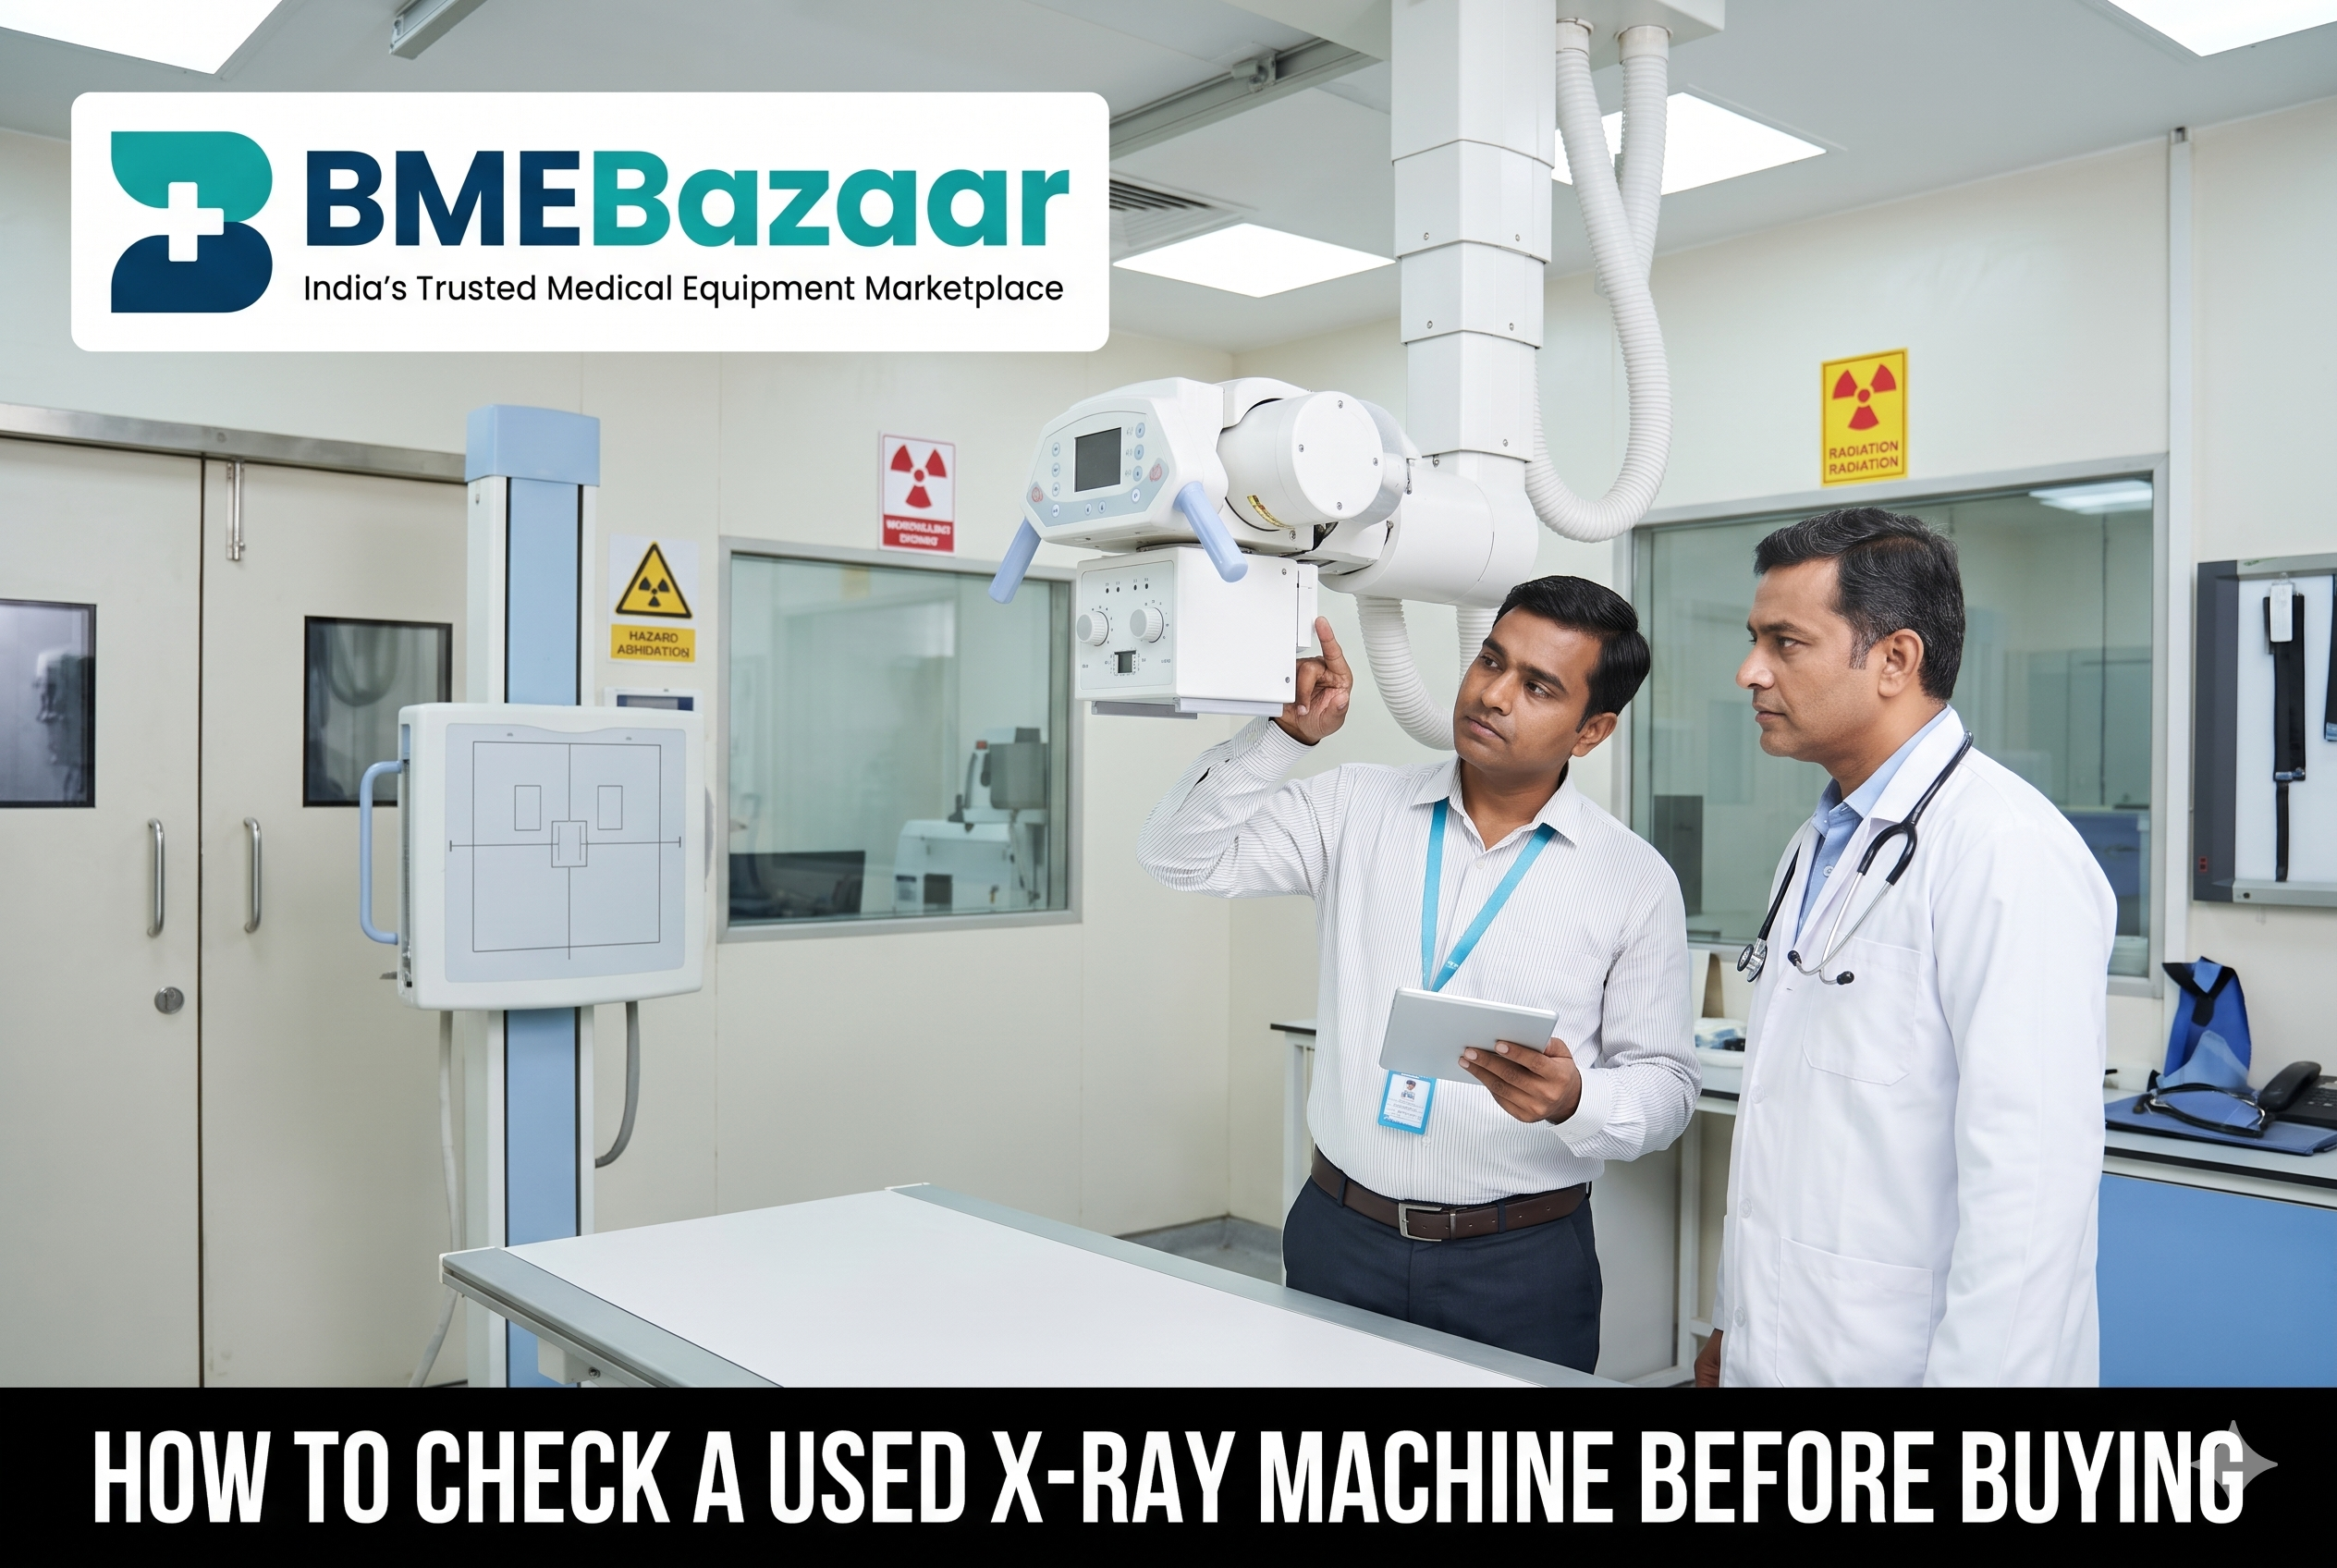
How to Check a Used X-Ray Machine Before Buying
Buying a pre-owned or refurbished X-ray machine can cut your clinic or hospital’s diagnostic setup cost by 40% to 65%. However, because X-ray systems combine high-voltage electronics, delicate vacuum tubes, and ionizing radiation, skipping a proper technical and regulatory inspection can turn a bargain into an expensive liability.
Whether you are buying a 100 mA mobile unit, a 300–500 mA fixed high-frequency (HF) system, or a Direct Digital Radiography (DR) setup in India, follow this practical step-by-step inspection checklist before finalizing payment.
Quick Inspection Roadmap
[ 1. Tube & Generator ] ──> [ 2. Collimator & Mechanics ] ──> [ 3. CR / DR Detector ]
                                                                         │
[ 5. Power & Installation ] <── [ 4. AERB e-LORA & QA Papers ] <─────────┘
1. Check the X-Ray Tube & High-Frequency Generator (The Core Value)
The X-ray tube and generator account for the bulk of the machine's value and replacement cost.
Verify Manufacturing Year & Tube Serial Number: Match the serial plate on the tube housing and generator cabinet with the seller's invoice and service records. Avoid units where the label has been scratched off or tampered with.
Inspect for Oil Leaks & Overheating: X-ray tubes are oil-cooled inside a sealed lead-lined housing. Look closely around seals, cable entry points, and bellows for any oil seepage—a leaking tube housing usually means imminent tube failure.
Check Exposure Count & Anode Condition: Ask the engineer to pull up the total exposure counter from the console logs. During test shots, listen for unusual arcing, clicking, or humming noises inside the high-tension (HT) tank.
Test kVp and mAs Consistency: Fire test exposures across low, medium, and high settings (e.g., 50 kVp to 110 kVp) to confirm the generator delivers stable output without tripping error codes.
2. Inspect Mechanical Locks, Cables & Collimator Alignment
A mechanically worn X-ray stand slows down technicians and creates repeat exposures.
Electromagnetic Brakes & Counterweights: Move the tube column vertically and horizontally. Ensure the counterweights glide smoothly and that all magnetic locks hold the tube head firmly without drifting.
High-Tension (HT) Cables: Inspect the thick rubber cables running from the generator to the tube head for deep cracks, dry rot, or sharp bends. Replacement HT cables are costly and often take weeks to source.
Collimator Light & Shutters: Switch on the collimator lamp and adjust the lead shutters. Verify that the light field is bright, centered, and aligns accurately with the actual X-ray beam.
Bucky Tray & Grid Movement: On fixed tables and vertical chest stands, check that the cassette/detector tray slides smoothly and that the oscillating grid moves without jamming during exposure.
3. Evaluate the Image Receptor (CR Cassette or DR Flat Panel Detector)
If you are purchasing a digital setup alongside the X-ray machine, inspect the imaging receptor separately—it is often worth more than the X-ray generator itself:
For DR Systems (Flat Panel Detectors):
Take a blank "air shot" (flat-field test) at standard exposure settings and inspect the image on the acquisition monitor at full zoom.
Look for dead pixel lines, dark spots, or white artifacts caused by impact damage or moisture ingress.
Check the panel's battery health (for wireless FPDs) and verify that the acquisition software license is perpetual and transferable without annual renewal lockouts.
For CR Systems (Computed Radiography):
Inspect phosphor imaging plates for scratches or peeling edges, which show up as permanent white streaks on every patient X-ray.
4. Verify AERB (e-LORA) & Legal Compliance in India
In India, buying a physically working X-ray machine is useless if you cannot legally register and operate it.
Document / Approval | What to Verify Before Paying |
AERB Type Approval | Confirm the exact make and model has valid AERB Type Approval / NOC for use in India. |
Seller's e-LORA Decommissioning | Insist that the current owner initiates decommissioning / transfer on the AERB e-LORA portal so the unit is released from their license. |
Last QA (Quality Assurance) Report | Ask for the most recent AERB-authorized QA test report (radiation leakage, kVp accuracy, timer accuracy). |
Room Layout & Lead Shielding | Ensure your X-ray room meets AERB minimum floor area requirements and has proper lead-lined doors, walls, and lead-glass viewing partitions. |
5. Check Power Requirements, Spare Parts & Warranty
Before signing off on the purchase, confirm the operational realities at your clinic or hospital:
Power Supply Compatibility: A 500 mA or 600 mA fixed X-ray typically requires a 3-phase power connection with low line impedance (or a dedicated capacitor-assisted/battery-powered HF generator if you only have single-phase power).
Local Service & Spare Parts: Confirm whether local biomedical engineers in your city can service that brand (e.g., Allengers, Siemens, GE, Shimadzu, BPL, Philips) and whether spare boards are available in India.
Testing Warranty & Installation: Negotiate a 30-to-90-day testing warranty and clarify in writing who covers de-installation, wooden crate packing, transit insurance, and on-site calibration.
Source Used X-Ray Machines Directly Without Broker Markups
Middlemen in India's second-hand radiology market frequently add 15% to 30% markups while withholding the machine's true clinical history. Buying directly from upgrading hospitals, diagnostic centers, or verified biomedical vendors lets you inspect the machine firsthand and negotiate transparently.
Find & Verify X-Ray Equipment on BMEBazaar
Browse Pre-Owned & Refurbished X-Ray Machines — Explore direct listings for fixed, mobile, CR, DR, and C-Arm X-ray systems across India with 0% brokerage fees.
Post Your X-Ray Requirement — Looking for a specific mA capacity, brand, or DR upgrade? Post a free "Wanted" request on BMEBazaar to receive direct quotes from verified sellers near your city.